The Natural Front Yards Process (Part 4): Finishing Touches and Watching it Grow

Finishing touches

When we finish a yard, we create an informal sketch labeling all the plants for the client.  If you applied for a rebate with the water district, we provide you the proper information about the plants in your yard to receive the rebate.

This is an example of a plan our clients receive


We apply a preparation of compost tea, which feeds beneficial soil organisms and helps the plants get settled in their new homes.

Once everything is all set up, it is time to relax, sit back, and watch the plants as they start to fill in!

When the plants are first planted, they look very small and spread out because we use young plants to minimize customer costs.

Here is a house when we first planted it

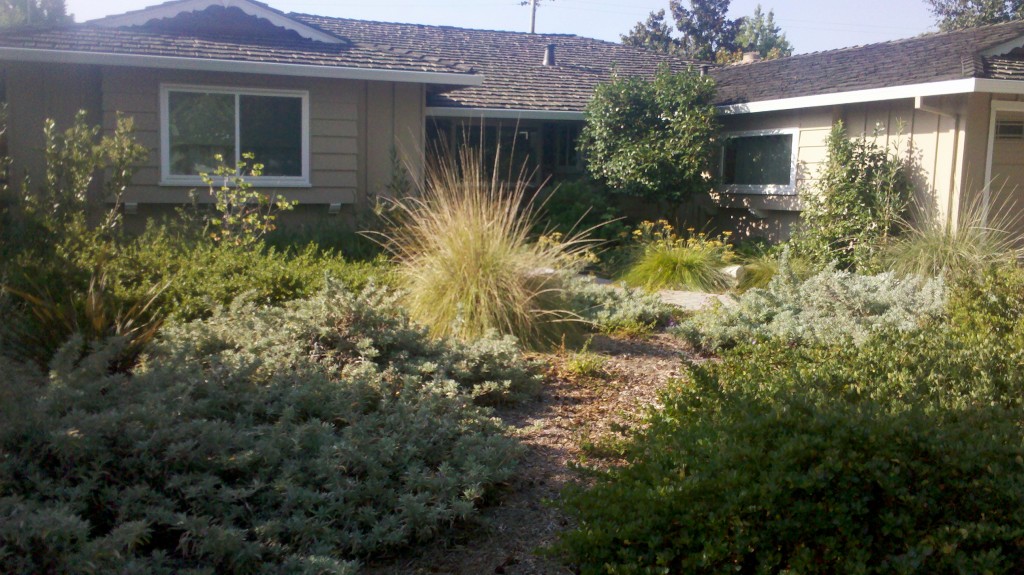
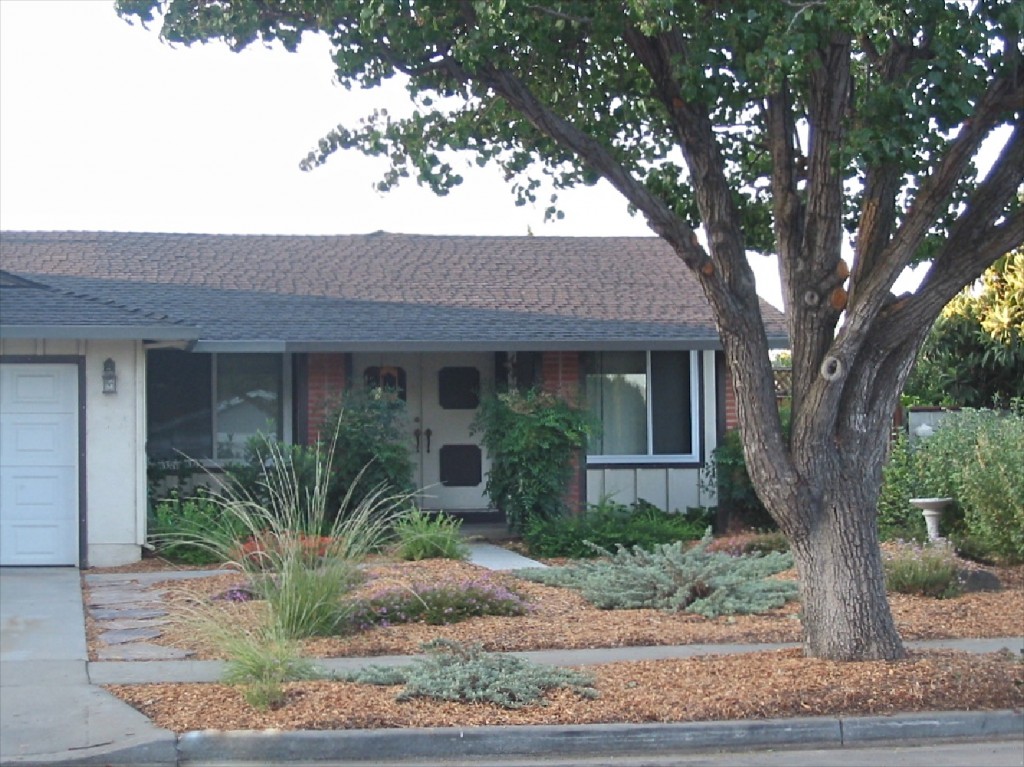
However, they will fill in when they reach their adult size.

Here is the same houses a few years later

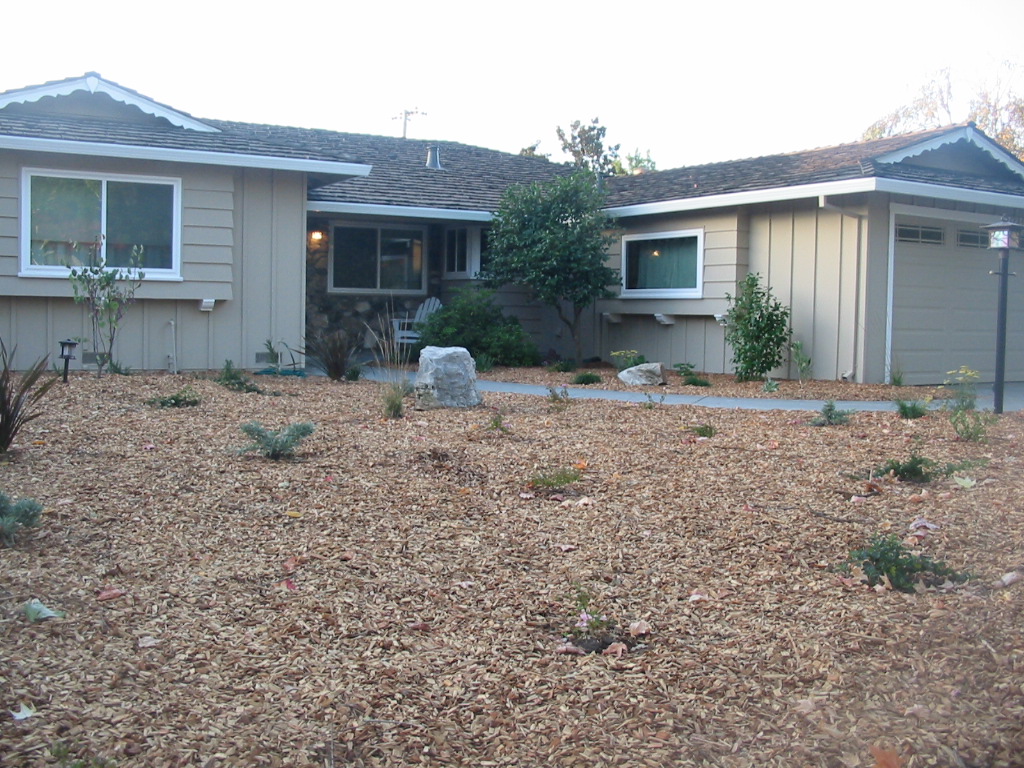
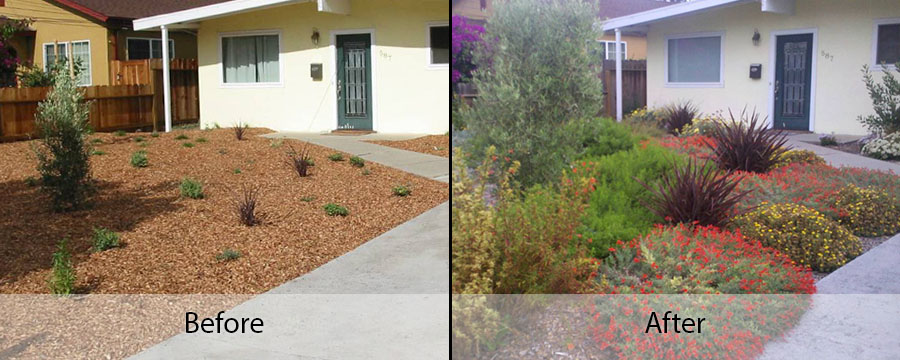
Remember the house from from first post in the series?

The first Natural Front Yards we installed - before the process
The first Natural Front Yards we installed – before the process

Here it is about a year later.

The same house after about a year

The Natural Front Yards Process (Part 3): Planting and Irrigation

Plant Placement

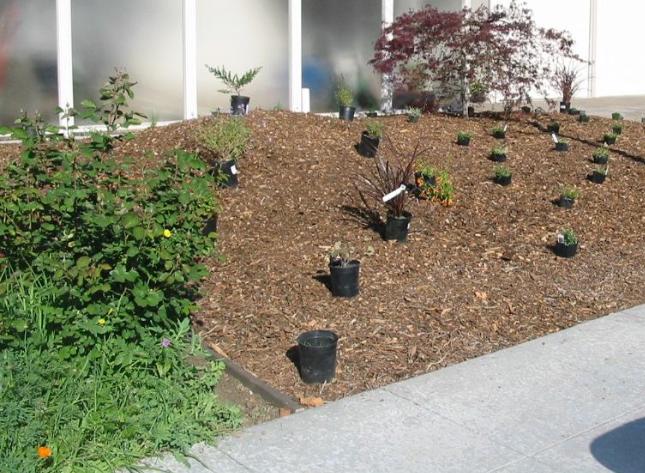
Before we put the plants in the ground, we place them around the yard to adjust for factors like aesthetic balance, and mature grown size.

After purchasing the healthiest and most compatible plants from the nursery, we place them around the yard to get a sense of spacing, balance, practicality, and beauty.  Even though plants often start out small, we give them a lot of space to grow. Some plants, like Ceanothus, multiply in size several times even in the course of one year!

3beforeafter

Once the plants are placed, they are ready to plant. We dig a hole in the mulch to create a pocket which we fill with planting compost. We add beneficial Mycorrhizal fungi to the plant roots to help establish the root system and improve the soil health.

When we install Natural Front Yards, we minimize the amount of large equipment that we use. A major reason people rototill and add compost when planting is to improve drainage. With our program, we allow for proper drainage in our local clay soil by planting high, with the plant crowns about 2″ above the soil surface, in the mulch.

Irrigation

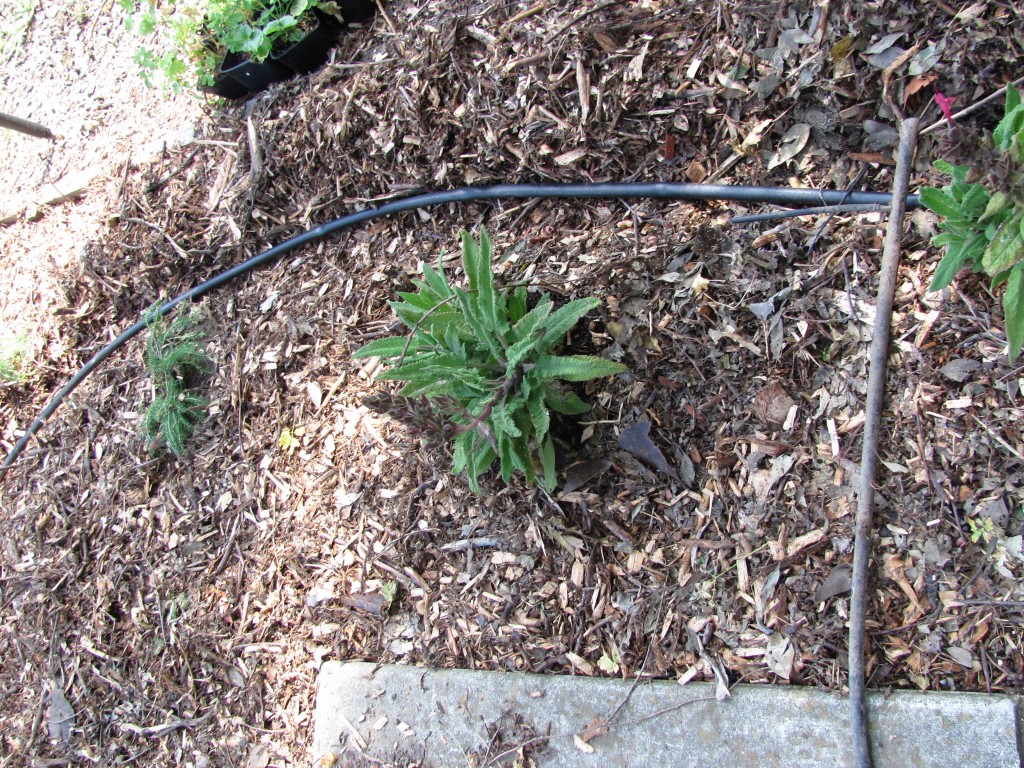
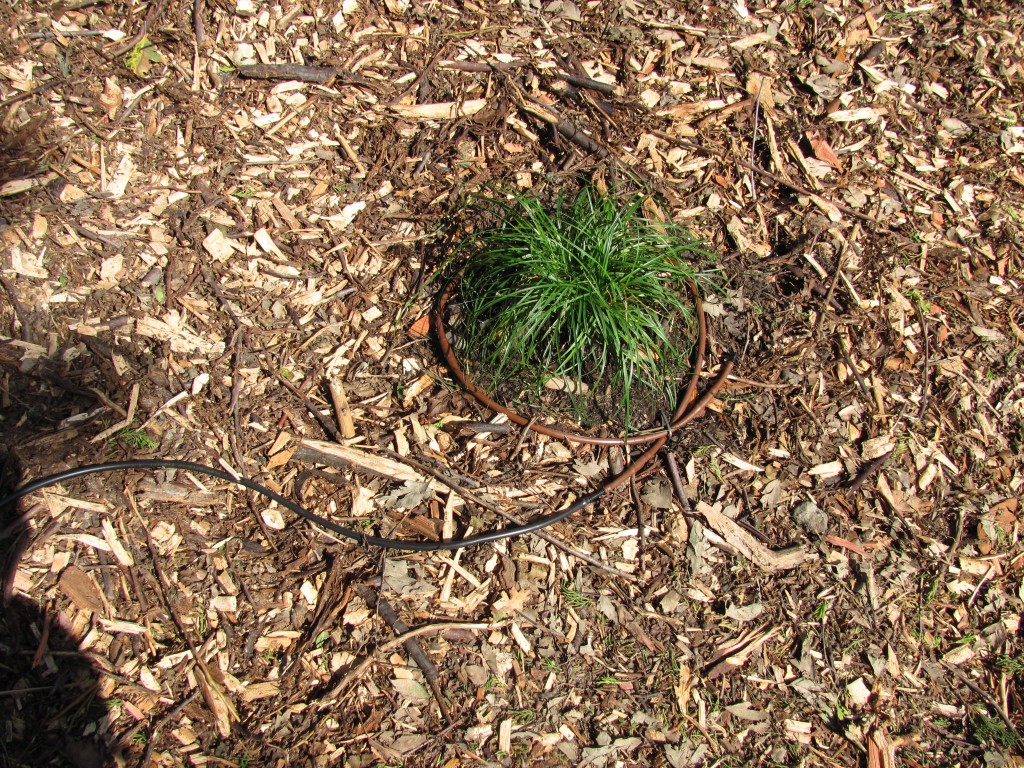
Drip irrigation is routed to each plant from a rough grid of ½” tubing laid on the surface of the soil, but under the top layer of mulch. Smaller tubing with emitters  spiral around the plants.

NFY drip irrigation
The black 1/2″ tube creates the “grid” which will be covered by mulch.
NFY drip irrigation (4)
The drip tubing is laid around the young plants.

We make sure that your drip system is connected to a controller and that the controller is set to properly water the plants.  We install a smart controller that automatically adjusts according to your local weather via the attach weather station that is mounted on your roof.  During our final walk-through visit, we go over how to program the controller and how to adjust it as the plants become established.

From here, the yard is basically finished. We just need to add a few finishing touches.

Stay tuned for the last installment of the blog series!

The Natural Front Yards Process (Part 2): Getting Rid of the Lawn and Sheet Mulching

Sheet Mulching

We begin the installation with a process called sheet mulching. This process will keep the grass and other weeds from receiving any sunlight, preventing them from growing back.  Mulch also reduces the amount of water that is needed, protects the soil from heat and evaporation, and eventually breaks down and adds nutrients to the soil. In the end, it help to build soil health so that it is looser, it feeds your plants, and it absorbs and holds onto more water, reducing storm water run-off.

We begin by removing unwanted plants and hardscape and mowing down weeds.  If there is Bermuda grass, we scalp it with a weed wacker, pick, or tiller.

Next, we dig a trench around the hardscape edges of the yard to make sure that the mulch doesn’t spill onto sidewalks and driveways. The trench is usually 6-8″ deep and wide, but can vary depending on the slope of the yard. The extra soil from the trench is spread throughout the middle area or used to create a natural looking mound.

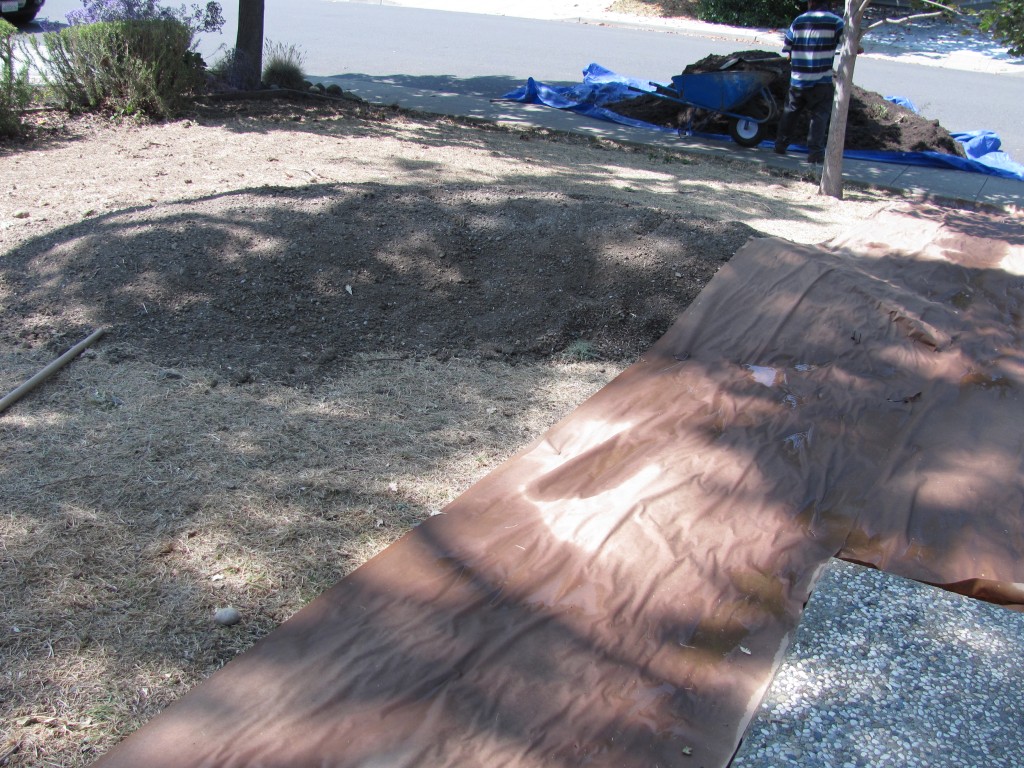
Covering a yard in paper. Around the edges is a trench to catch the mulch, and in the center is a mound.

Our next step is to completely cover the ground with newspapers, builder’s paper, or cardboard and a thick layer of arbor mulch.

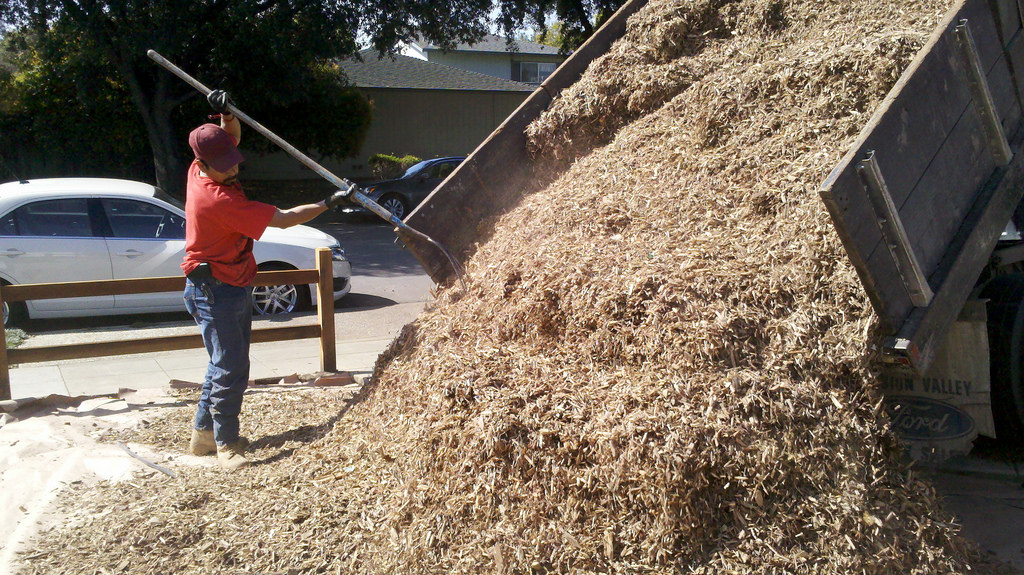
Arbor mulch delivered in a truck

Typically the first layer will be “arbor mulch” obtained from an arborist.  It is later covered by a 1″ layer of decorative bark.

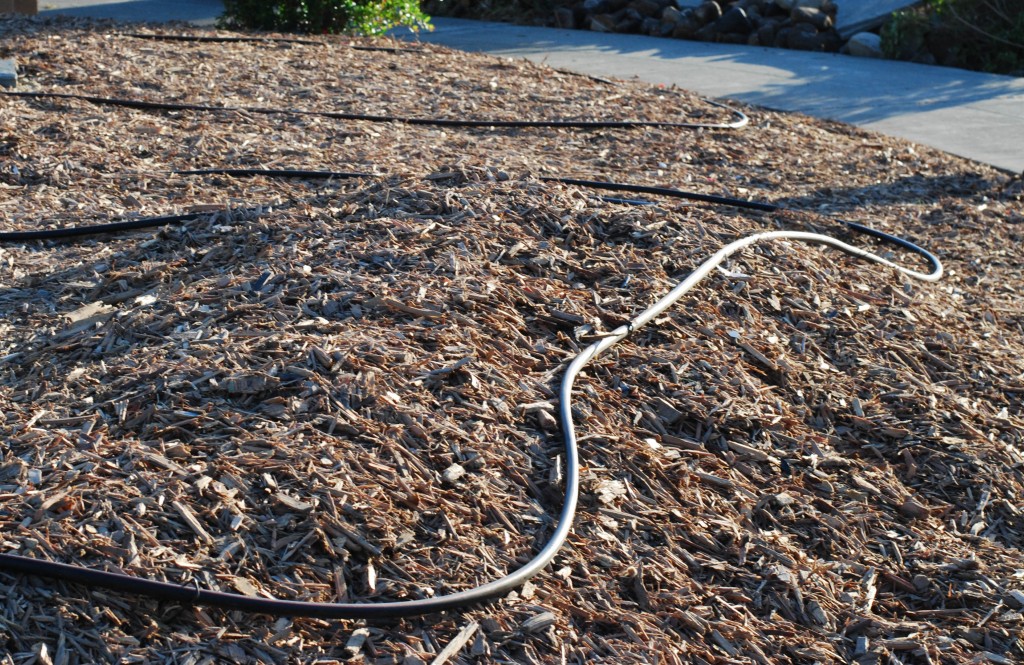
This is the mulch (with some irrigation tubing) on top of the former lawn.

Now the area is ready for planting, which will be the focus of the next blog post. Stay tuned!

The Natural Front Yards Process (part 1): Before it even starts

While we specialize in installing environmentally sustainable yards, we are also happy to share the process with others. The process is quite simple, and this blog series will take steps to demystify it.

Whether you are a prospective customer wondering what will happen, or you want to transform your own front yard, this should prove helpful.

Analysis and Planning

When Earthcare Landscaping developed Natural Front Yards, we looked for ways to streamline and simplify the process of installing a yard. We replaced multiple design meetings and a strict set of plans with the Natural Front Yards system. The customers tell us their basic preferences, and we create a flexible plan based on the attributes and requirements of the space.

During our first visit we look at the space to determine if it qualifies for the program and to get an idea of plants that will look good in the yard.  We discuss  which plants the customer wants to stay, their general plant preferences and if they want any plants for screening.  We also discuss whether they would like an add-ons such as boulders, walkways, walls or fruit trees. All plants will be included in the new drip irrigation system that will be installed. Once we have agreed to work together and we have a deposit, the customer is on the schedule and we are good to go.

A client's house before the Natural Front Yards's installation
This is the house of our first NFY client before the Natural Front Yards’s installation

This is also a good time to see if you qualify for a lawn replacement rebate. To find out, check your local water agency. Where we work, if the customer is in the Santa Clara Valley Water district, then they can move forward with getting a rebate on their Natural Front Yard.

Rather than creating a strict plan, we create a flexible plan that focuses largely on water-wise plants that look best at the nursery at the time. After everything has been installed, the owner receives a plan with all the plants labeled.

From here, we are ready for installation. Stay tuned for the next part of this series!

When to Water your Native Plants

Before making adjustments to your controller, please read the instruction manual completely to understand how it functions.

Although it is tempting to only set your timer once, it is important that you periodically check the moisture level in your garden to make sure that you are neither over or under-watering.

All yards require different watering. Variables like weather, shade, geographic area, and the time of year will affect how often you should water. In order to figure out how much water you need, you can do it the complicated way*, or the easy way.

The easy way

The easiest way to figure out how often to water your yard is to check the soil the day before watering is scheduled. Do this by putting your fingers about two or three inches into the soil around the base of your plants. If the soil still feels moist, or you can mold it into a ball, then you can probably extend the time between waterings. If the soil is a bit dry three or four inches down, then it likely could stand more water. The health of the plant is a good indicator how much water it is getting. The tricky thing is that over-watered and under-watered plants look the same. The difference is that over-watered plants are less likely to come back!

Other things to consider when planning your water schedule

Maturity: Newly planted native plants will require more frequent watering while they are developing an expanded root system. Remember that in nature what makes them resilient is their widespread root systems and that when we planted them, their roots were restricted to the can size. For our clients, we set a “new” schedule at the time of planting, which might last around one month. After the first month, the watering can be less frequent. In the first summer, we sometimes recommend additional hand watering, depending on your irrigation system. You can expect to lengthen the time intervals after the first and second years. Some plants can be taken off the system the third year, but not all. It depends on the plant and conditions.

Intervals: It is better to extend or lessen the day interval on the timer to rather than the amount of time the plants are watered. For example, going from 45 minutes once a week to 30 minutes once a week is not as effective in “drought-proofing” your plants as going from 45 minutes once a week to 45 minutes every 10 days.

Sample schedule

Your schedule depends on many variables so remember, THIS IS ONLY AN EXAMPLE!

  • Newly planted: 30 minutes every 3 days
  • First summer: 1 hour for point source emitters; 2 hours for inline grid; every 5 days
  • Second summer: 1 hour for point source emitters; 2 hours for inline grid; every 10 days
  • Third summer: 1 ½ for point source, 2 to 3 hours for inline grid; every 15 days

Things to Remember

It is vital to the success of your plants to periodically check the soil moisture the day before scheduled watering and adjust the irrigation timer accordingly.
Give the soil surface time to dry out between watering days; and of course, if it’s raining, you can turn off your watering system entirely or install a rain sensor.

Especially in this time of extreme drought, it is important to only give your plants the amount of water they need. By preventing your plants from being over-watered, you not only conserve water and retain the health of the plant, but you help your water bill as well.

Best,
The Natural Front Yards Team

The Oxalis problem


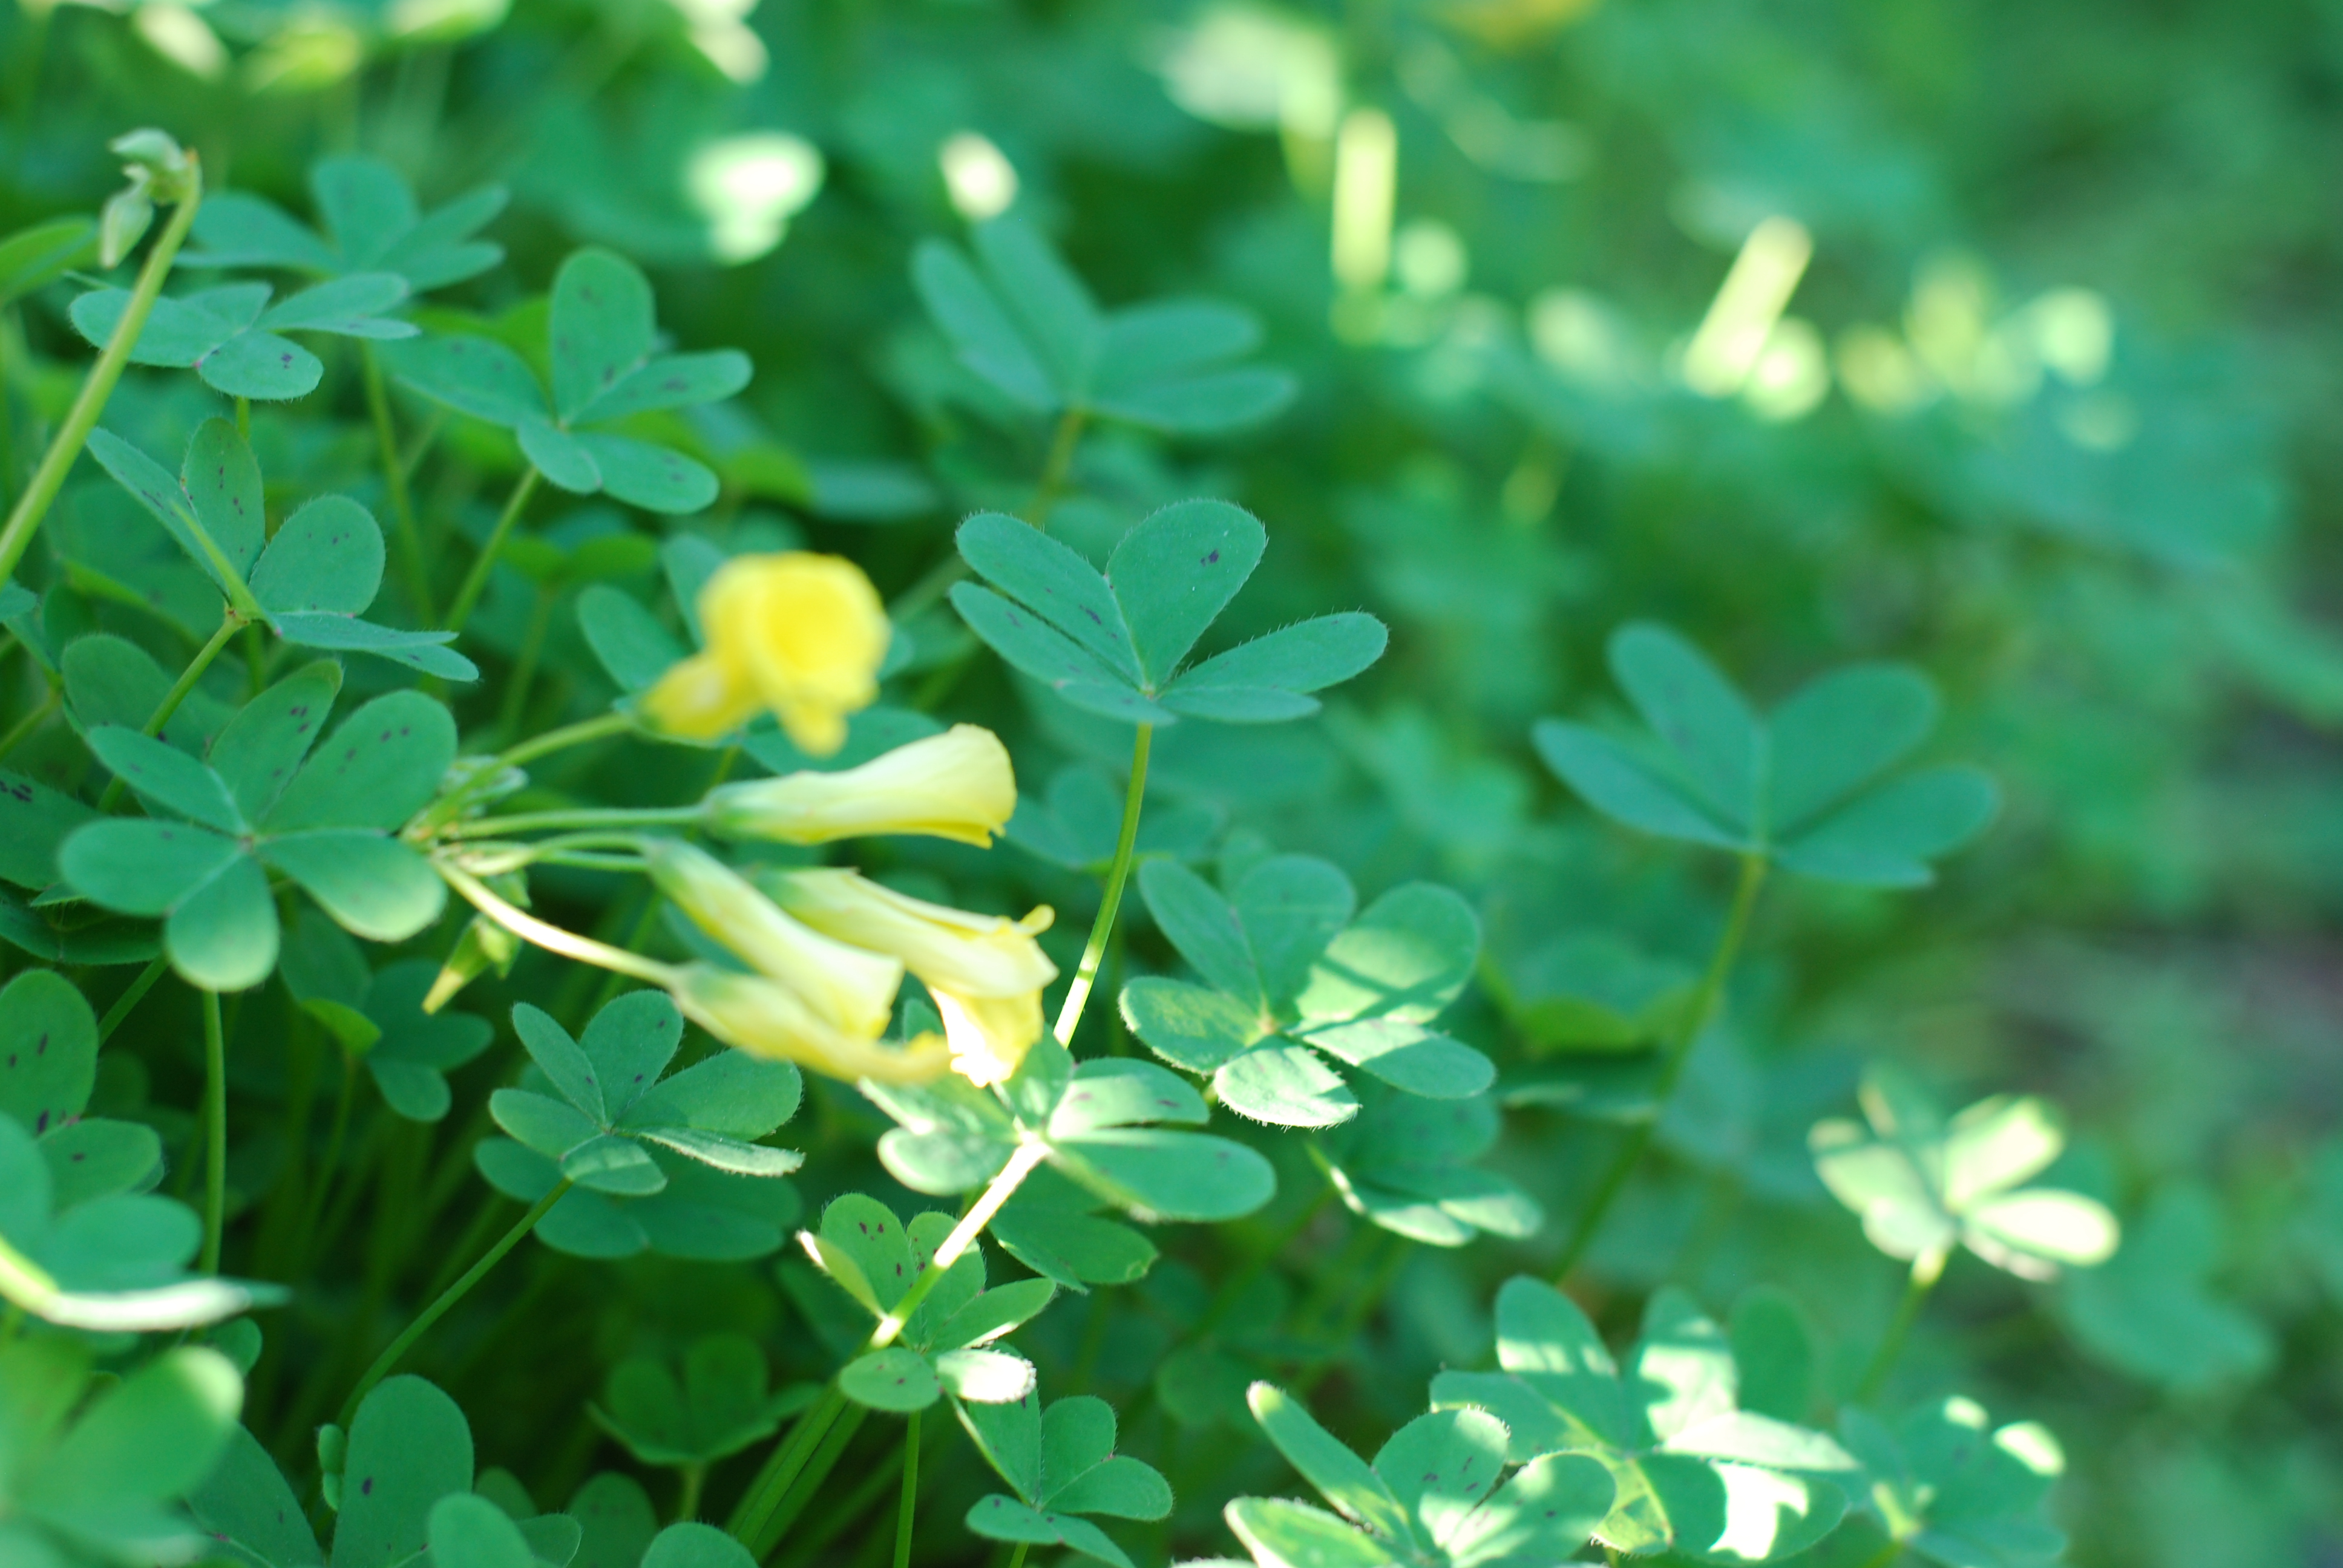
20140117-DSC_4265It looks like clover and has pretty yellow flowers, but it is a noxious weed called Oxalis, and it could be in your yard right now. This South African bulb can be a terrible pest because it is perfectly adapted to our Mediterranean climate, appearing with our moist warm winters and going completely dormant in the dry summer. The secret to ridding yourself of Oxalis pes-caprae is knowing the life cycle, timing, and persistence!

Getting Rid of Oxalis

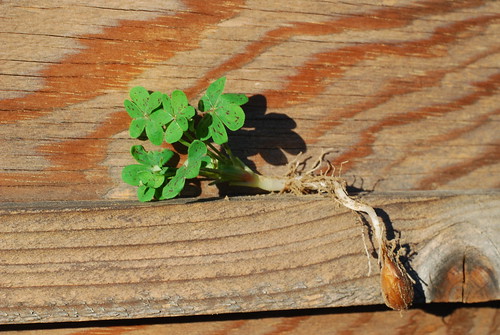
The best way to get rid of oxalis is exhaust the bulb. The underground bulbs are the storage organ to make it through our long dry summer. As soon as the rains commence, up come cute little clover-like leaves. This is depleting the bulbs and this is the time when you should start pulling the leaves off. The bulb is exhausted every time it has to send up new shoots and leaves, so even if the oxalis continues to grow back when you pull it, rest assured that it will weaken with every time, and eventually will dwindle out. Keep doing this until you see flowers forming. Once you see flowers, the new bulblets are also forming and pulling up plants then will disperse the new bulbs, a poor idea. Thick sheet mulch will not kill/smother Oxalis, but it definitely makes the plant work harder to reach the surface (further depleting the bulbs) and easier to pull. Keep it up! You can outwit this plant as long as you pay attention. Most people find that they can completely obliterate even a bad case of Oxalis within 3 years.

altText

If you have a lot of Oxalis, the problem will take a bit more strategy and work. Chemicals do not work on oxalis because they will treat the top of the plant without dealing with the real culprit: the bulb! Instead you can use methods like solarization, where the heat of the sun is used to kill the bulbs, or sheet mulching with cardboard and mulch which will make the industrious bulbs work harder to produce their plants1.

Preventing the Problem

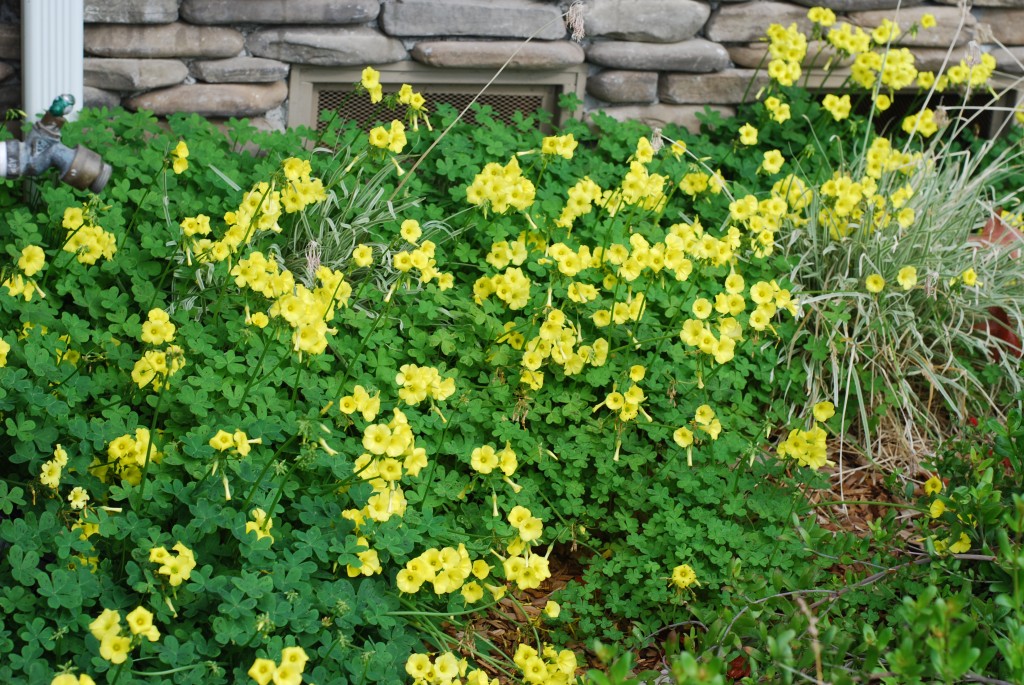
Oxalis taking over in full bloom

Oxalis is drawn to compact and clay soils, which are very common in our area. Long term ways to prevent Oxalis is to improve your soil so that they are less friendly to the weed. This would include adding organic, nitrogen-rich matter to your soil, and to improve drainage with good mulching.

One other interesting note: Chickens eat Oxalis and because they are on the job constantly looking for food, they are more persistent than you are! Deva’s chickens have completely eradicated it in her orchard, where they roam freely.

Good luck in the coming season,

The Natural Front Yards Team
1Earthcare Landscaping is in the practice of using solarization and sheet mulching, and can use them to help Oxalis-ridden yards. However, because it is almost impossible to fully eradicate the weed, yards that already have strong Oxalis problems do not qualify for the Natural Front Yards program.

For more information, go to http://ccmg.ucdavis.edu/files/83817.pdf
Creative Commons Attribution 2.0 Generic License

New Year, New Blog

Happy New Years!

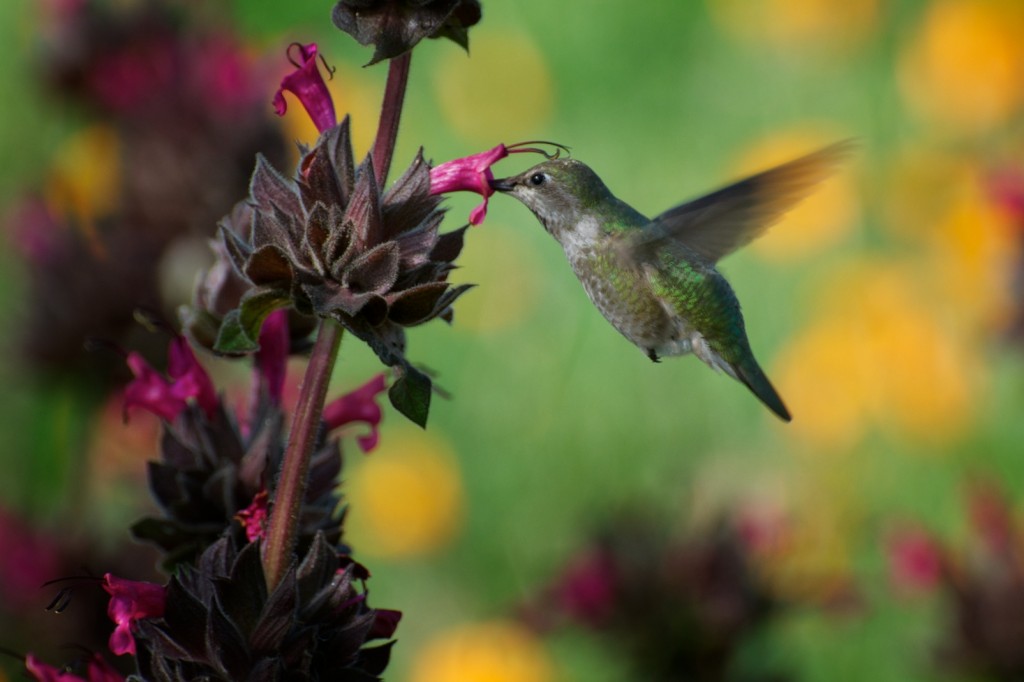
A Hummingbird with Hummingbird Sage. Photo © 2011 Britta Heise

To start off the New Years, we are starting the Natural Front Yards blog. Tune in for seasonal advice, general information, and interesting things you would want to know!

The Natural Front Yards Team
/* */